There are many ways to make toned monochrome images with Photoshop. For those who prefer the simplest approaches, we describe Color Fill and Photo Filter.
The next method we describe uses the Color Transfer feature. This is an amazing feature which lets us copy the color scheme of any image, and does all the calculations for us !
Another method we describe uses the Gradient Map feature. Gradient Maps are designed for this purpose. They lets us create duotones, tritones, etc. in 16-bit color space and save them as reusable presets.
Finally, we provide a link to Additional Methods of Toning in Photoshop !
All these methods are non-destructive and support the 16 bit color space.
To view a collection of 172 toned monochrome images, click here.
Toning our images in Photoshop, we can multi-tone with an unlimited number of shades. Digital toning can replace printer-centric approaches like Quadtone RIP and Piezography, which by comparison are limited and cumbersome. With digital toning, there is no need for a dedicated printer, additional software, spectrophotometer, proprietary inks, third party cartridges, syringes, protective gloves, custom profiles, etc. Because we tone the image itself, there is actually no need to print at all... unless we want to.
As far as I know, the only disadvantage of this approach arises when we make inkjet prints because they fade, discolor and disintegrate over time. For more information, see Inkjet Prints: Going, Going, Gone ? Hopefully, printing technology will continue to improve and some day it will be possible to make truly archival prints.
Step 1 - Make sure your image is in RGB Color mode. On the main menu, choose Image > Mode > RGB Color.
Step 2- Create a Fill Layer: on the main menu, choose Layer > New Fill Layer > Solid Color. Choose "Color" as the Mode, and leave the Opacity at 100%. (You can change that later). Click on the OK button.

Step 3 - The Photoshop Color Picker window appears. Pick a color.
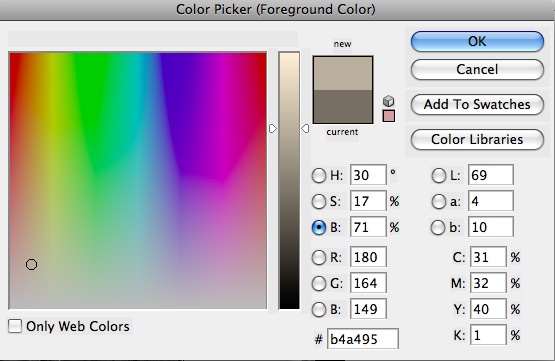
In the Color Picker, you can choose a color on the left, and adjust the palette of colors with the
slider, just to the right of the color window.
Now click on the OK button.
All Done!
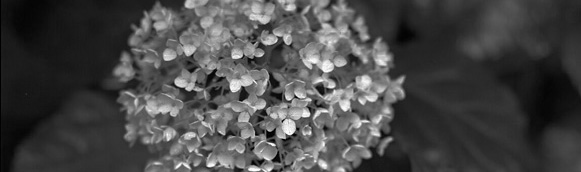
Grayscale Image
Image toned with warm Color Fill layer
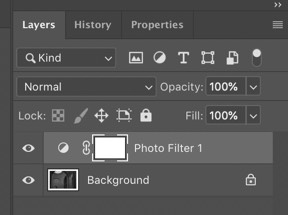
Step 1 - Make sure your image is in RGB Color mode. On the main menu, choose Image > Mode > RGB Color.
Step 2 - Create a Photo Filter Layer: on the main menu, choose Layer > New Adjustment Layer > Photo Filter. Leave "Normal" as the Mode, and leave the Opacity at 100%. (You can change that later). Click on the OK button.

Step 3 - A new layer is created and its properties are
displayed. Choose a Filter or Specify a Color
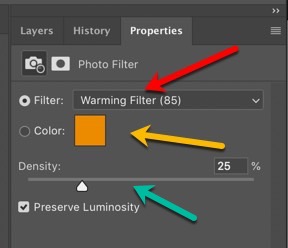
If you click on the Filter drop-down (red arrow), you can choose from a list of standard colors and filters. If you select Color and double-click on the color patch (yellow arrow), Photoshop will present the Color Picker control, which lets you specify any color you like.
After choosing a color, you can move the Density slider (green arrow) to further adjust the degree of toning.
Be sure to leave the option Preserve Luminosity checked so that grayscale values are replaced by tones of matching brightness.
All Done!
Grayscale Image
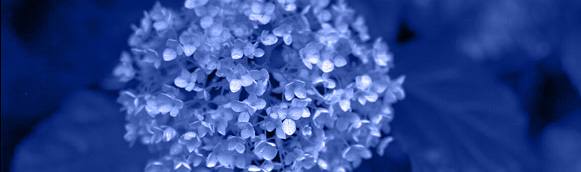
Image toned with blue Photo Filter
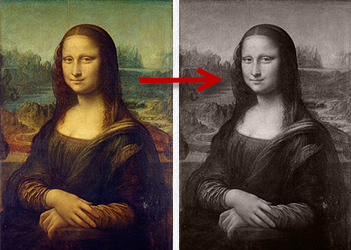
The Photoshop Color Transfer feature lets us transfer the color scheme of one image to another, automatically. After converting your image to monochrome, go to Filters > Neural Filters
Apparently, this process is an automated version of the Gradient Maps technique described below. The Color Transfer process appears to sample the color palette of the reference image at different points along the brightness scale and then modifies the target image with a corresponding gradient map.
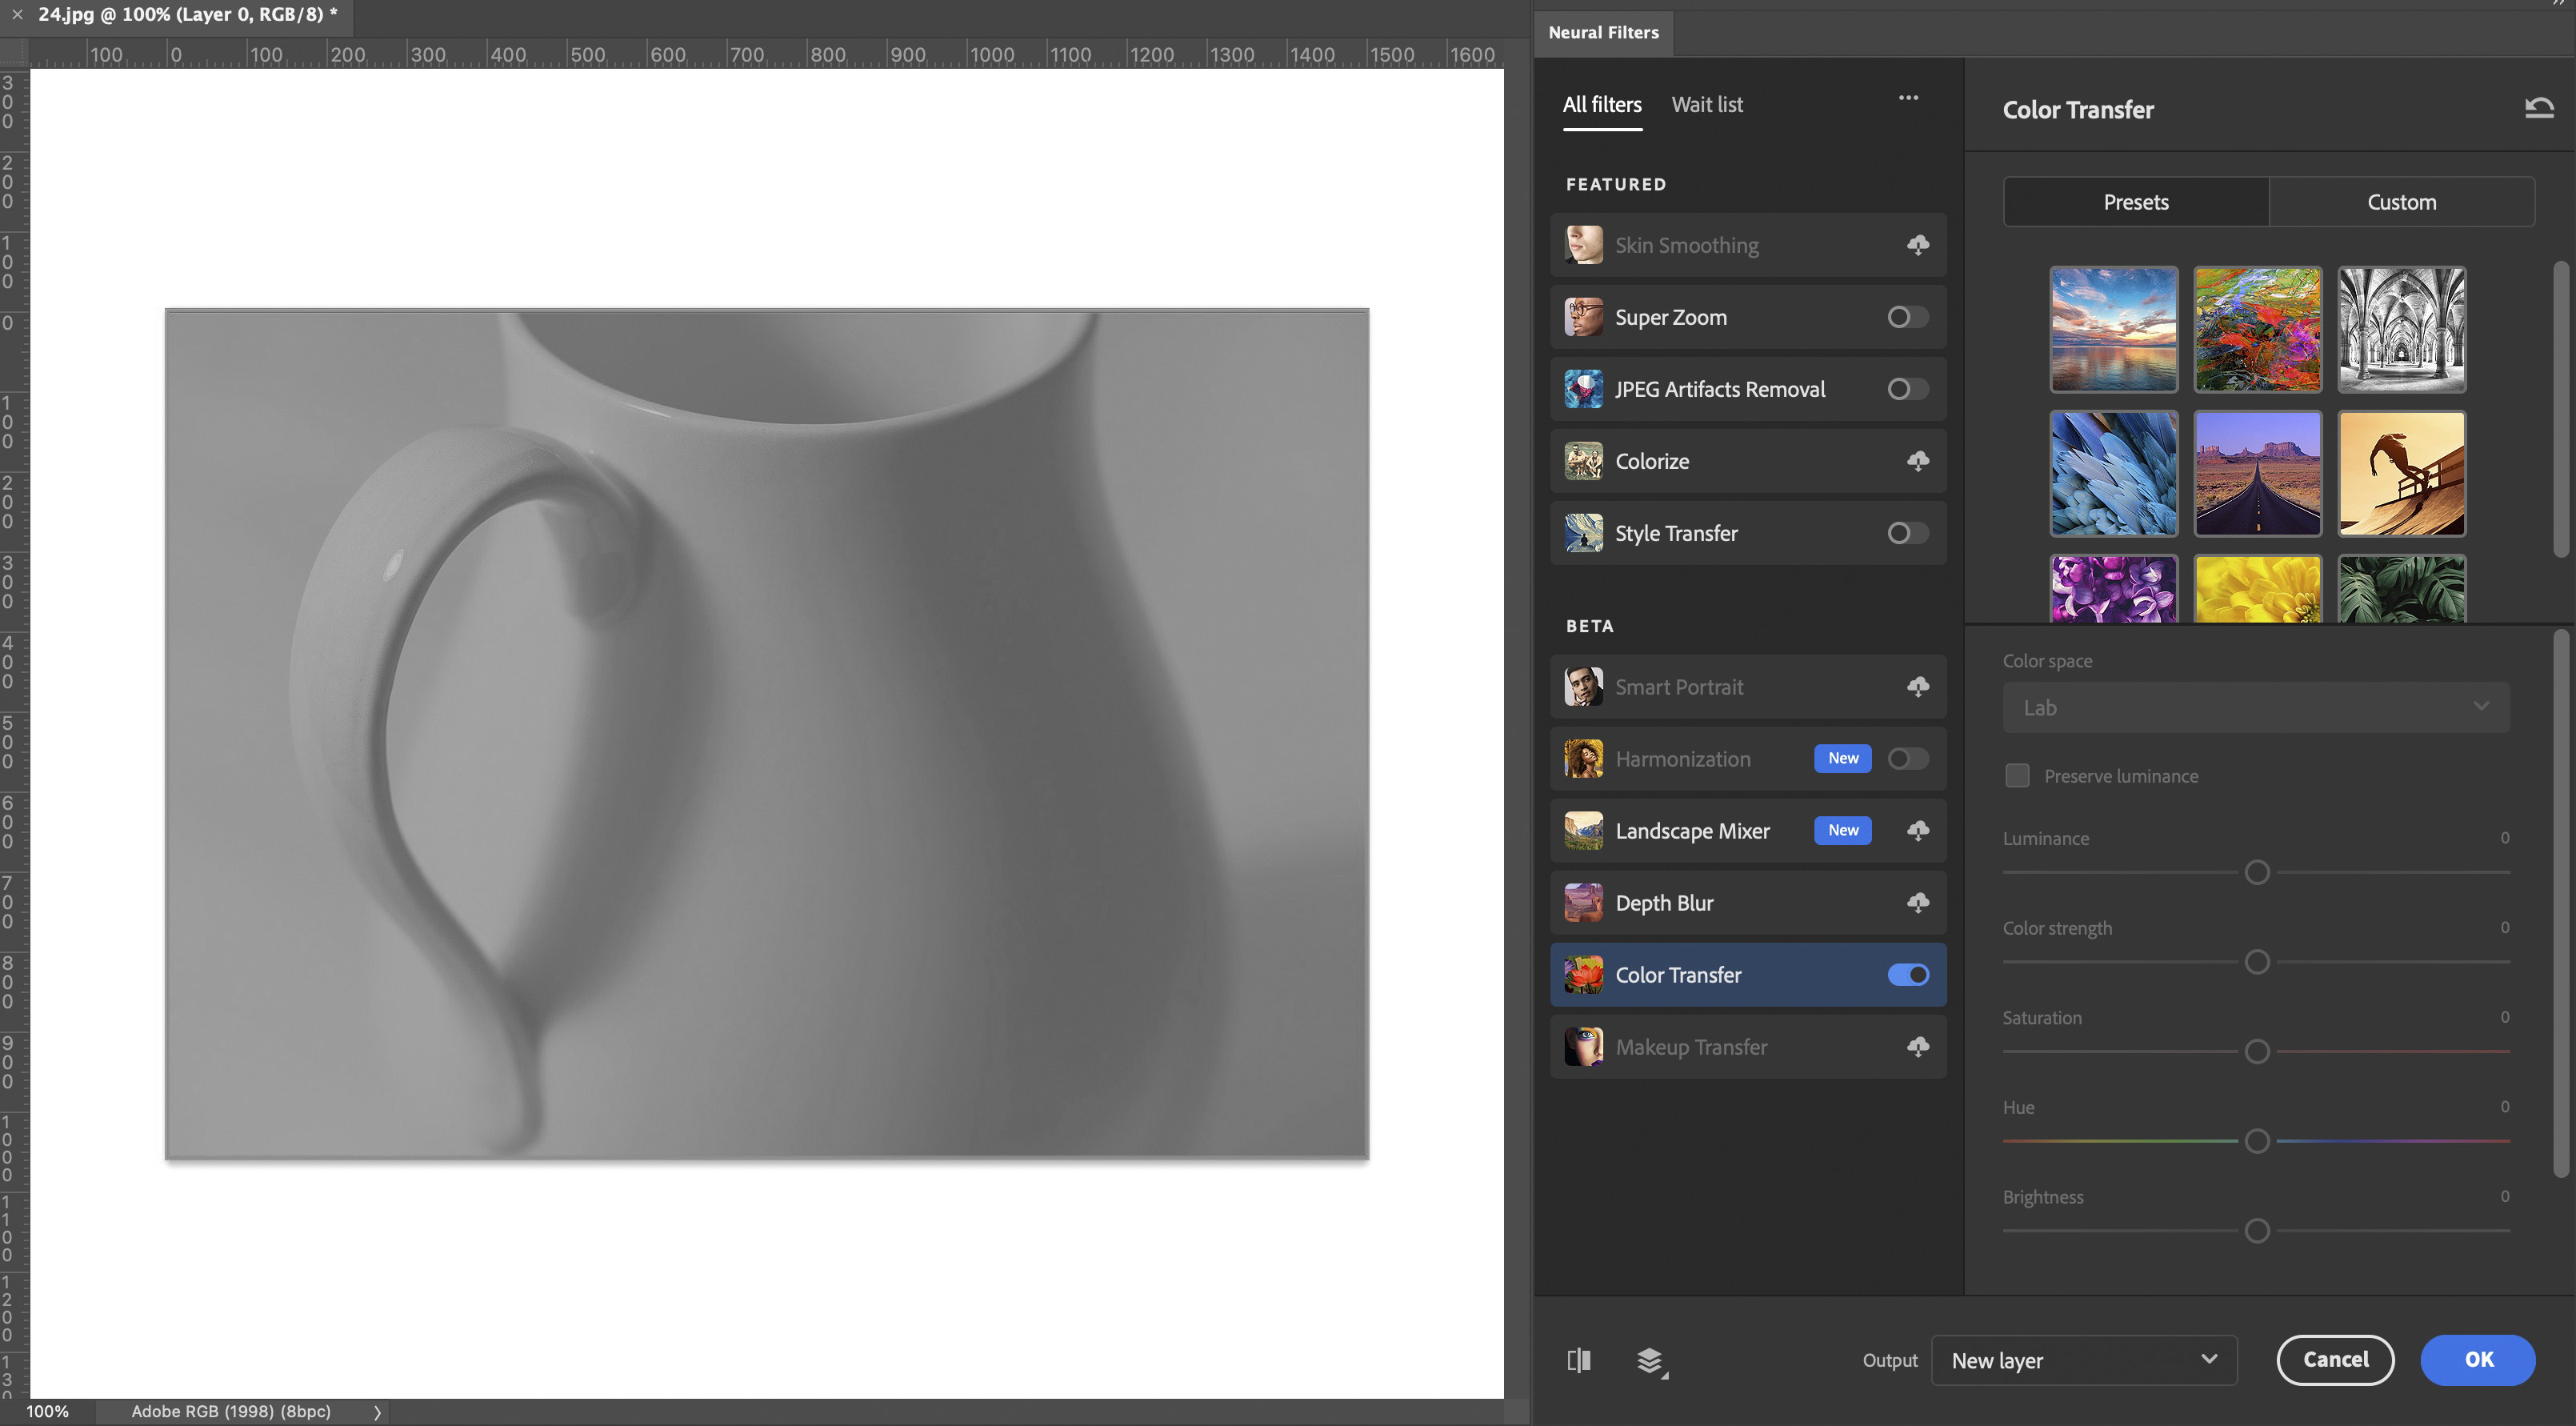
Choose the following settings:
- Enable Color Transfer
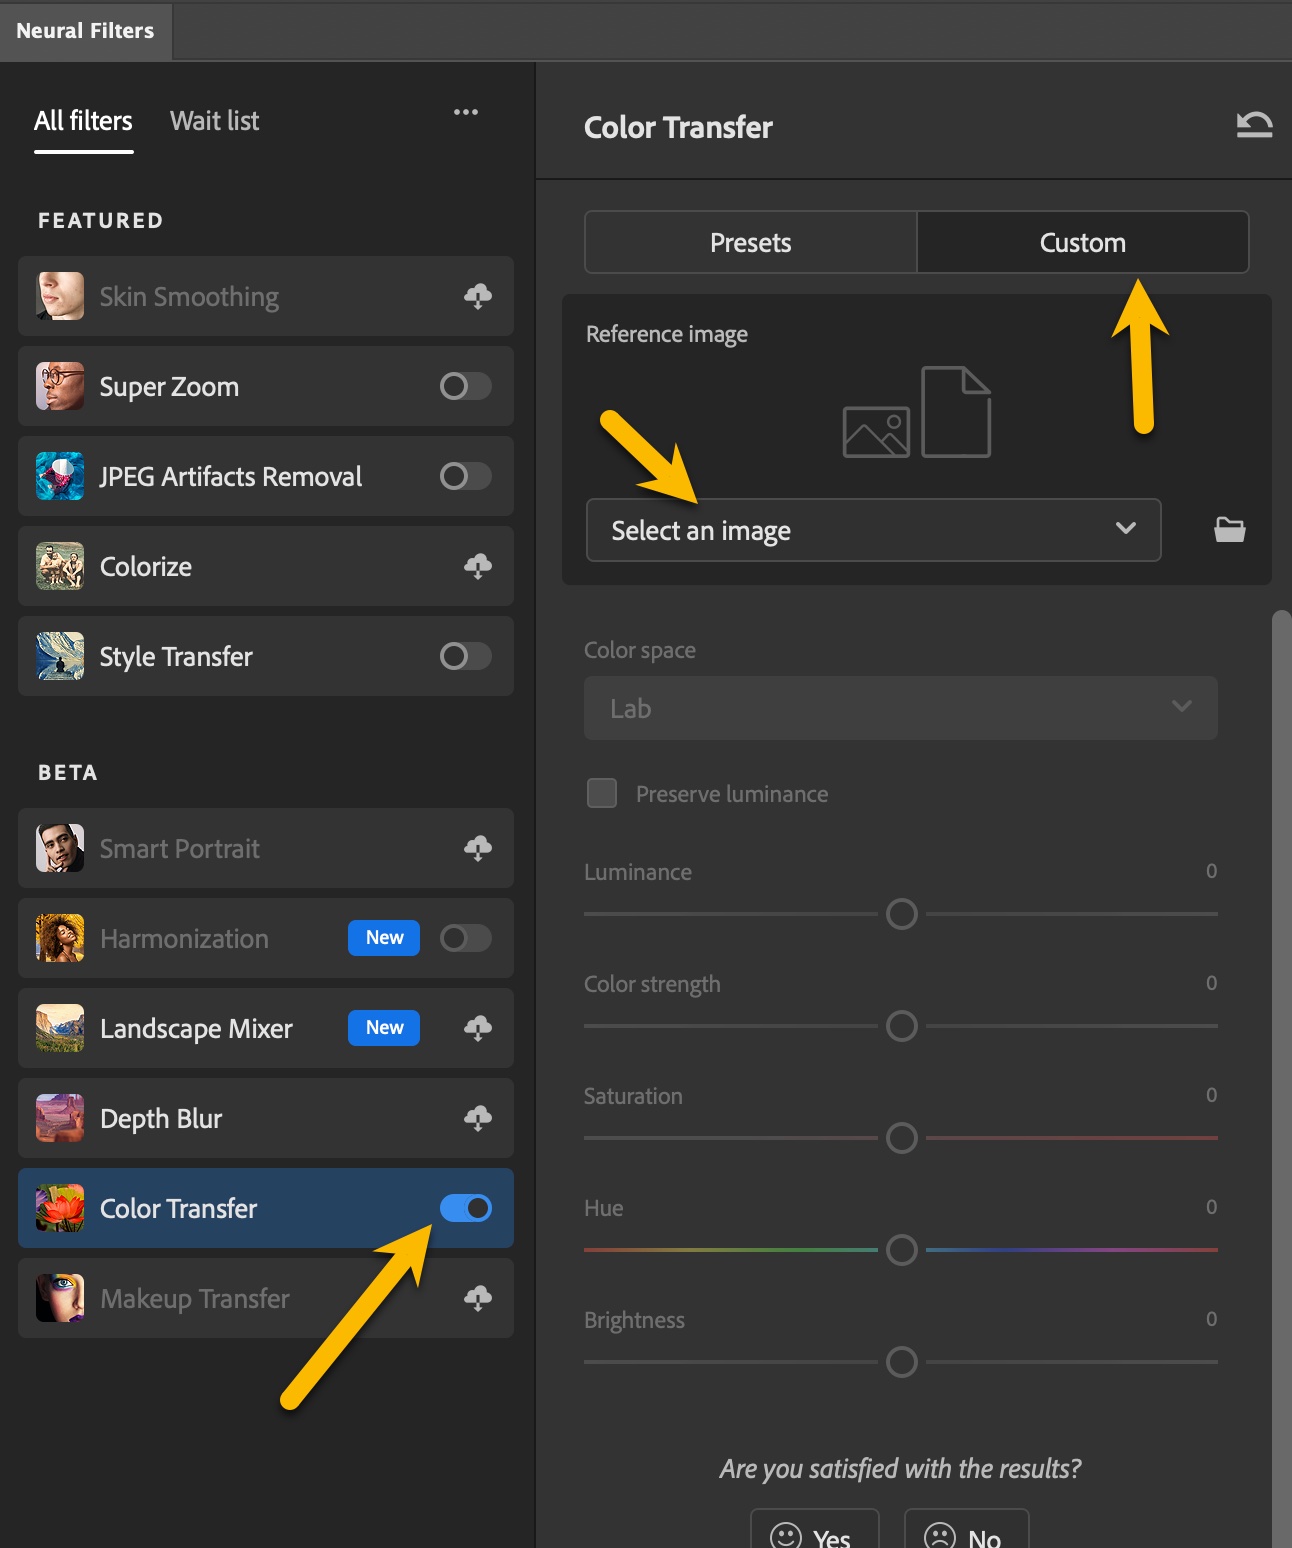
- Choose Custom
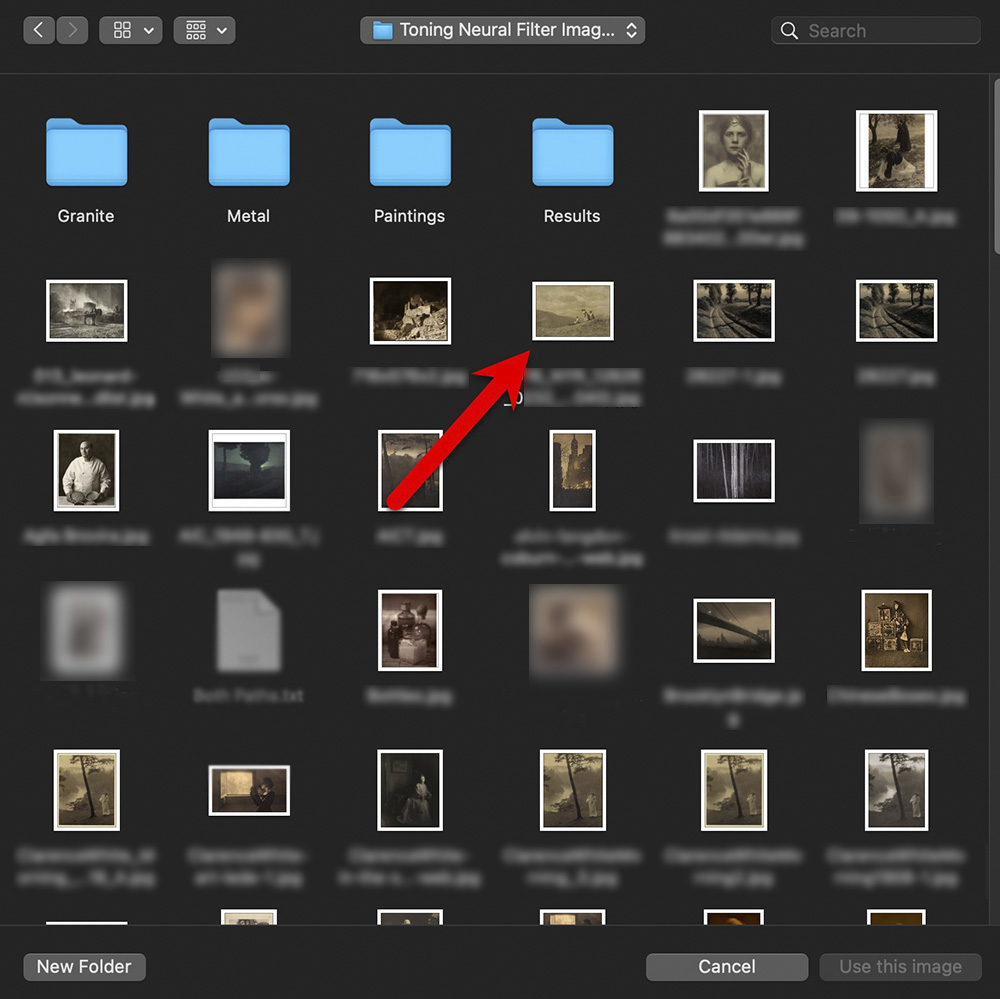
- Click Select an Image
Choose the image whose tone you want to apply. Below are some from my own collection of samples.
The color palette has been applied.

Several additional controls are available: you can experiment to get the desired effect. Be sure to apply the Color Transfer as a Photoshop Layer: that way you can further adjust the degree and character of toning and your edits will be non-destructive to the original.
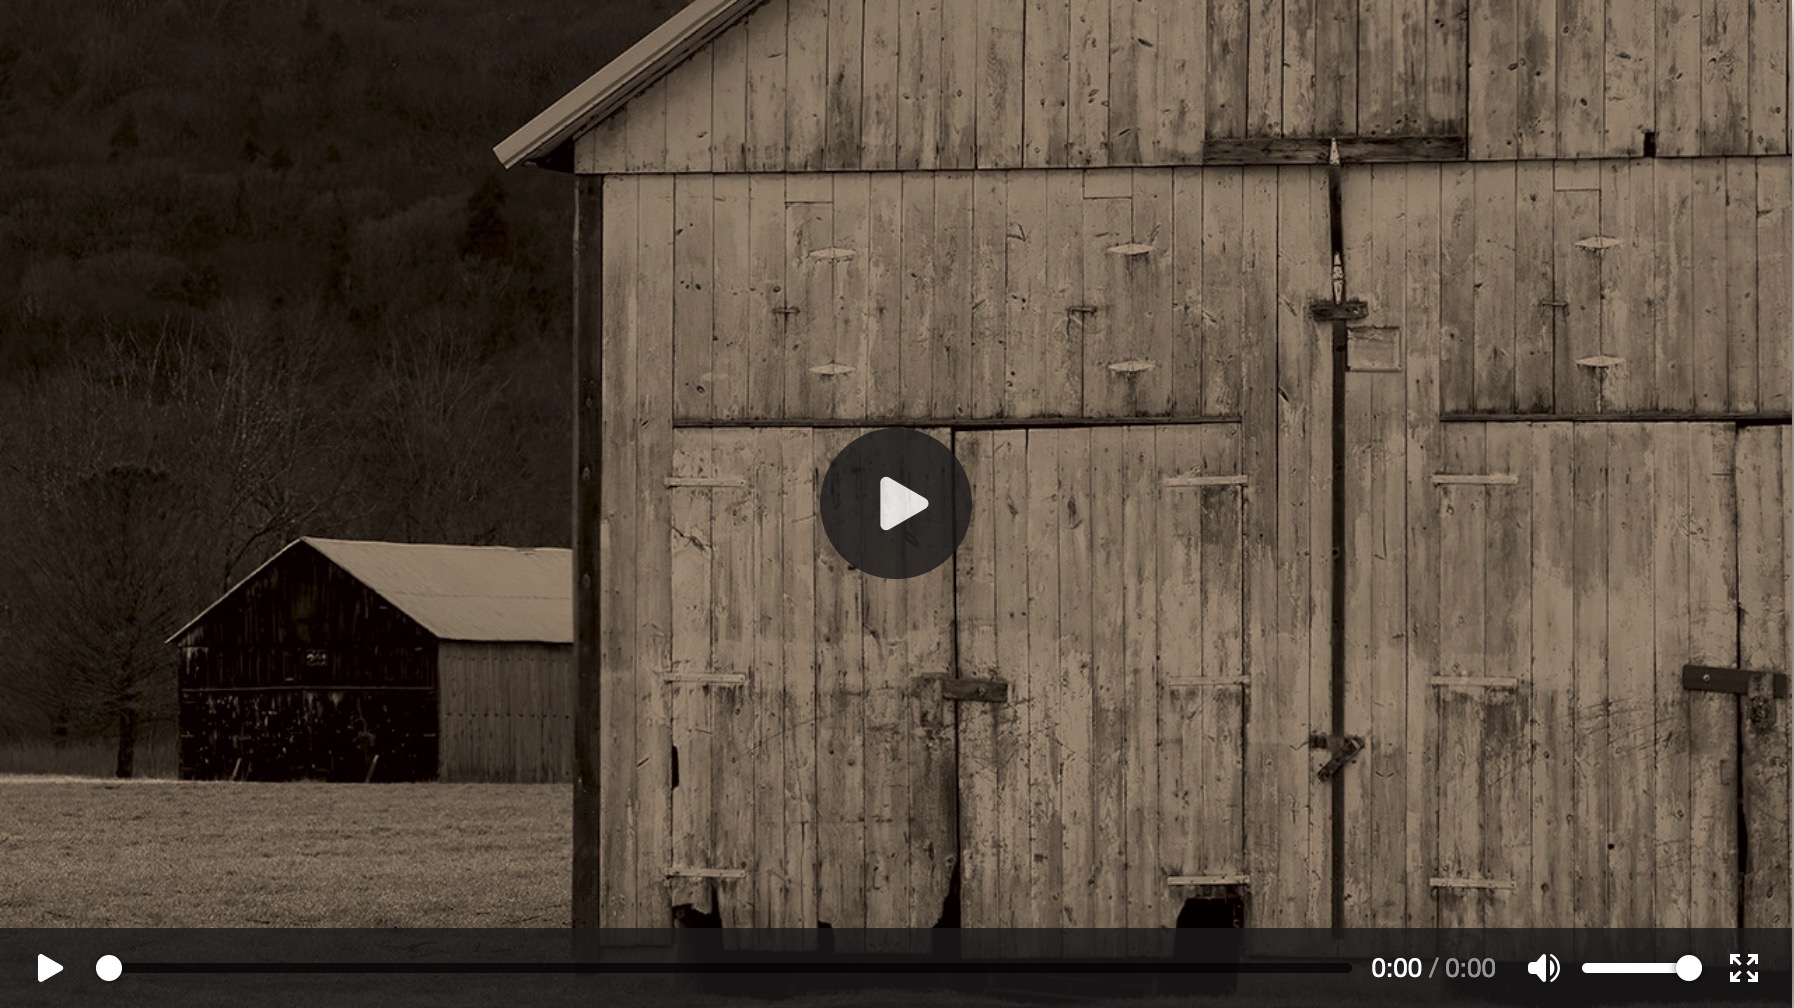

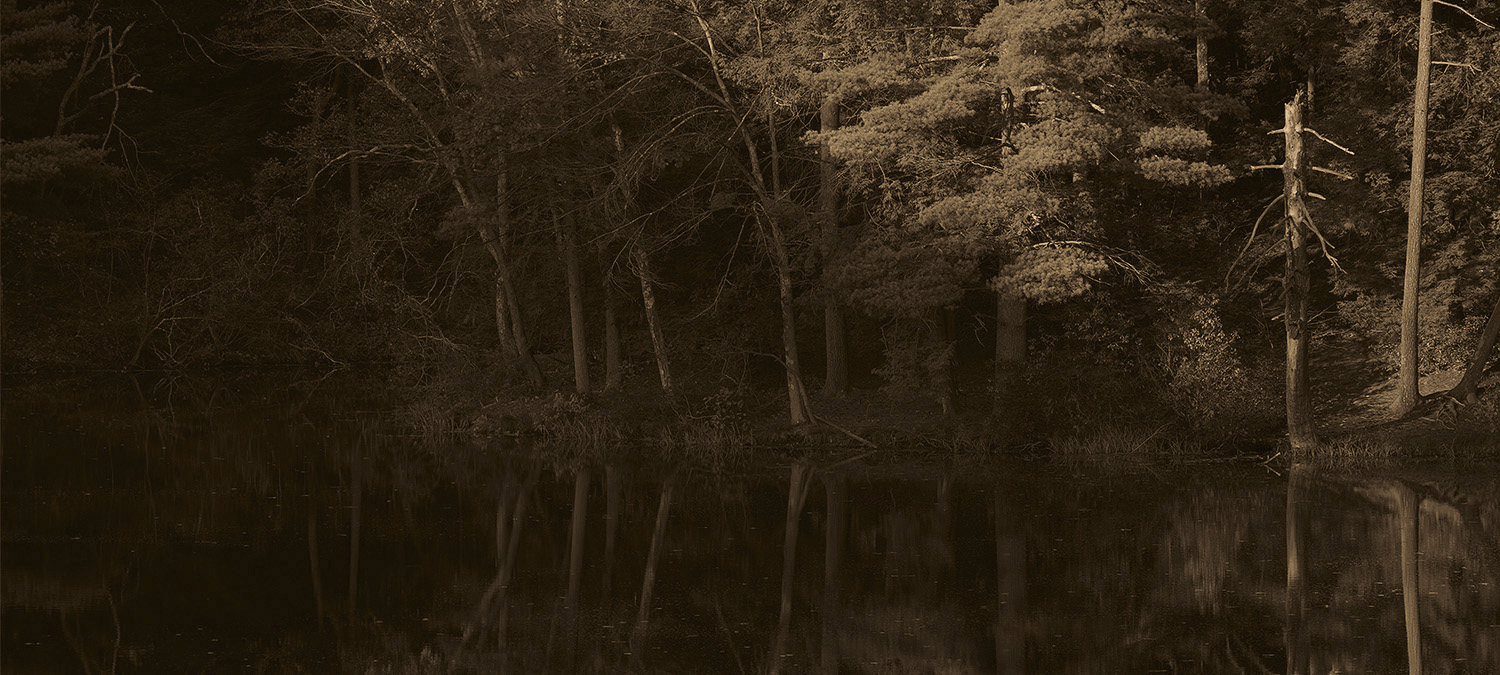
Here the warm tone peaks at 30% and decreases gradually. The snow in this photograph looks
almost white: a more natural rendering.
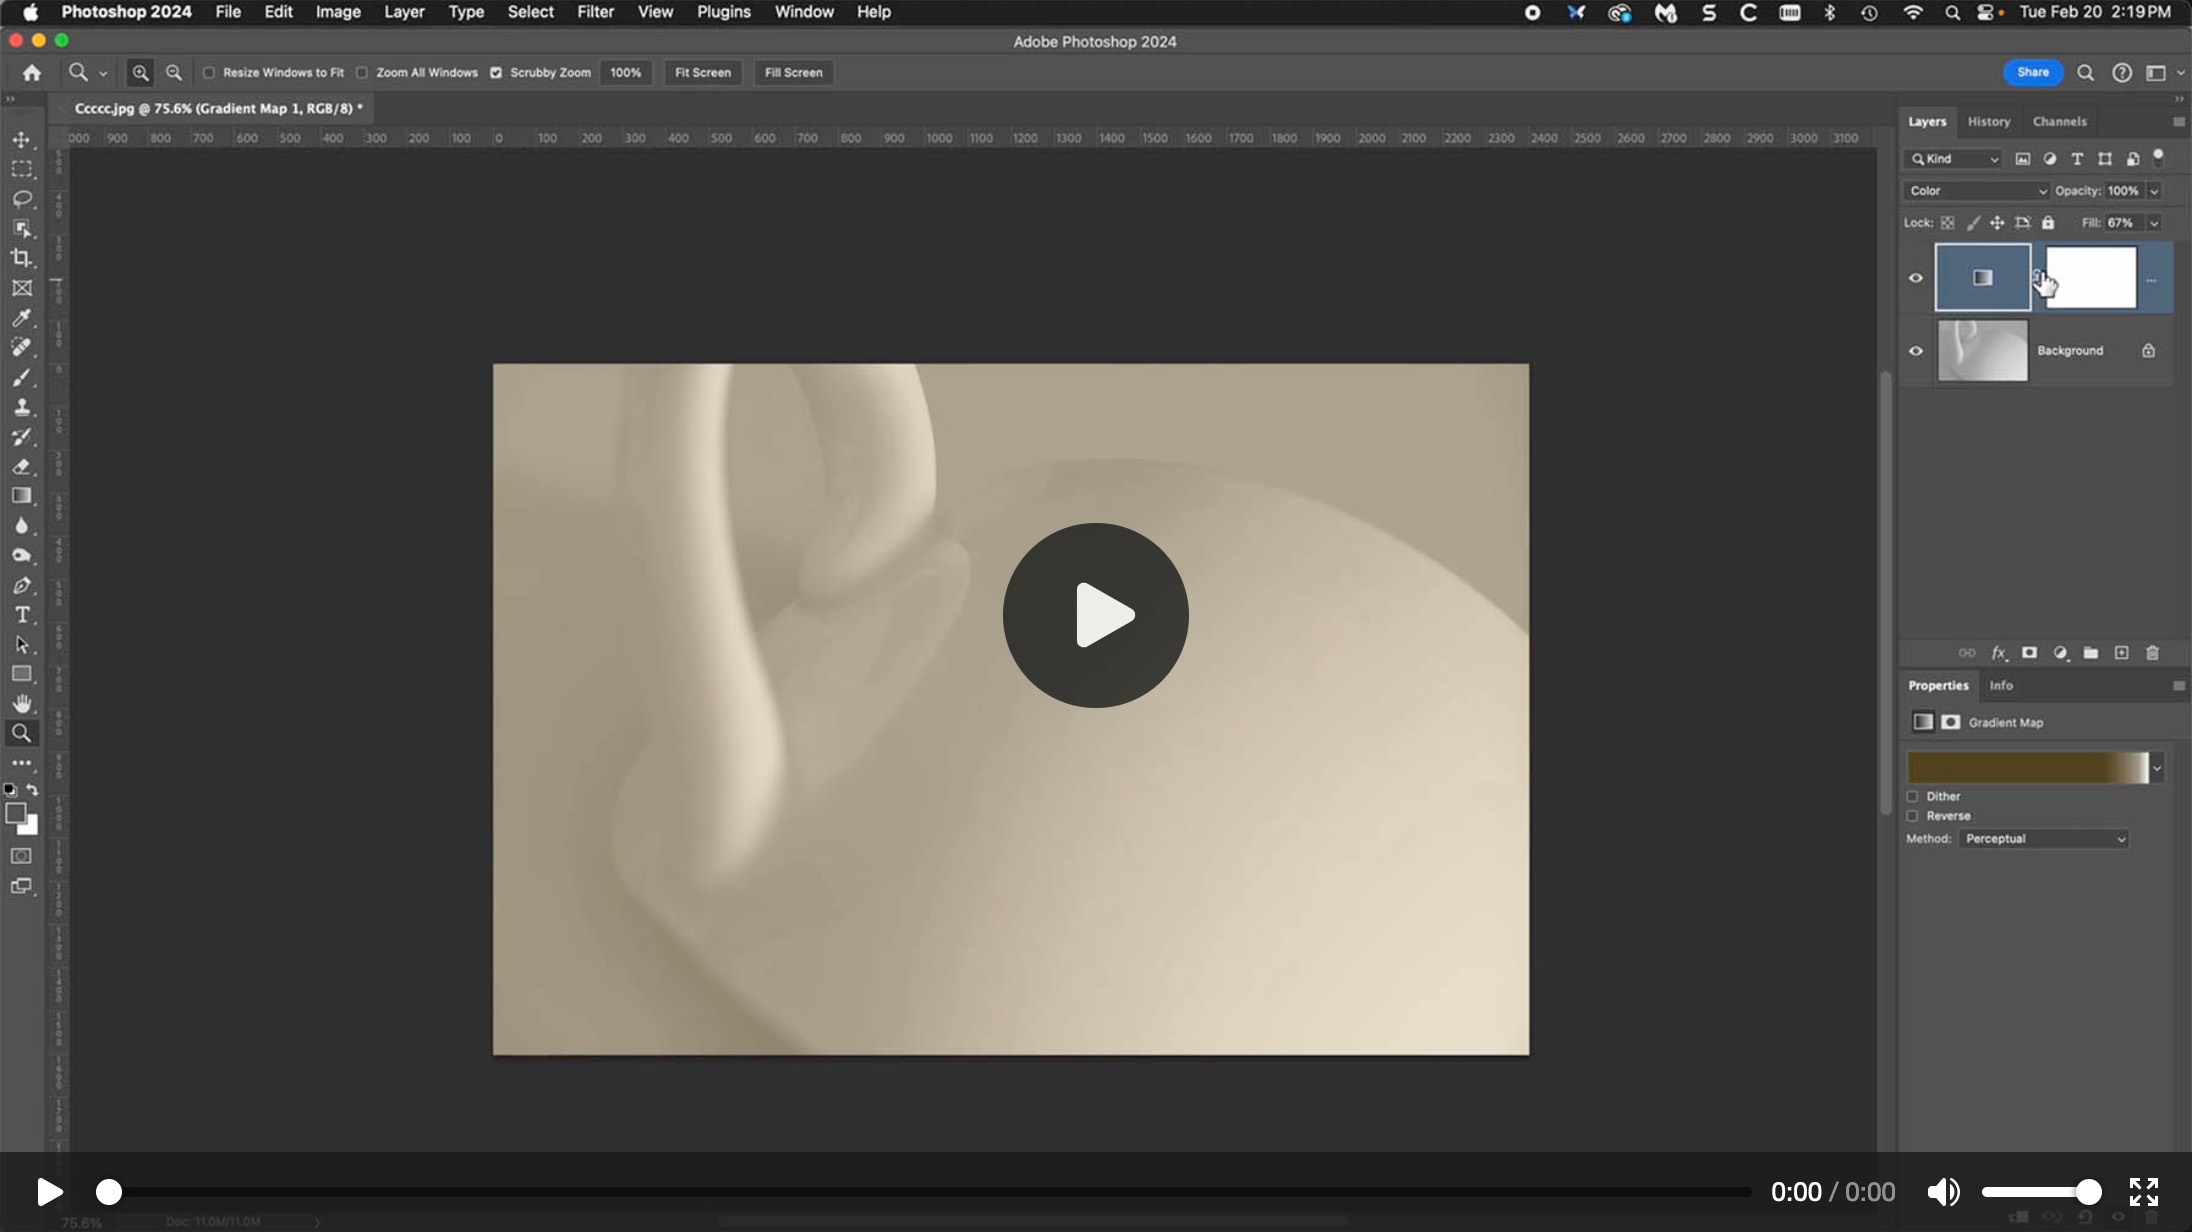
After converting your image to monochrome, add a Gradient Map adjustment layer.
Make sure that the blending mode is Color to ensure that grayscale values are replaced by tones of matching brightness.
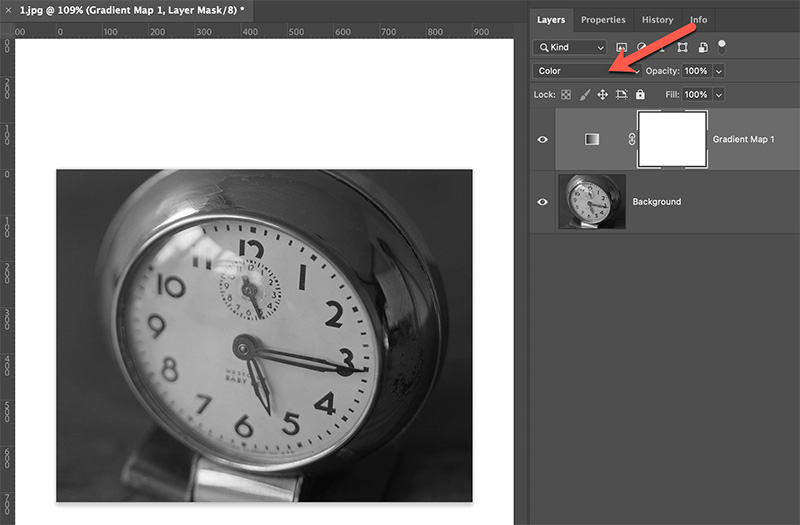
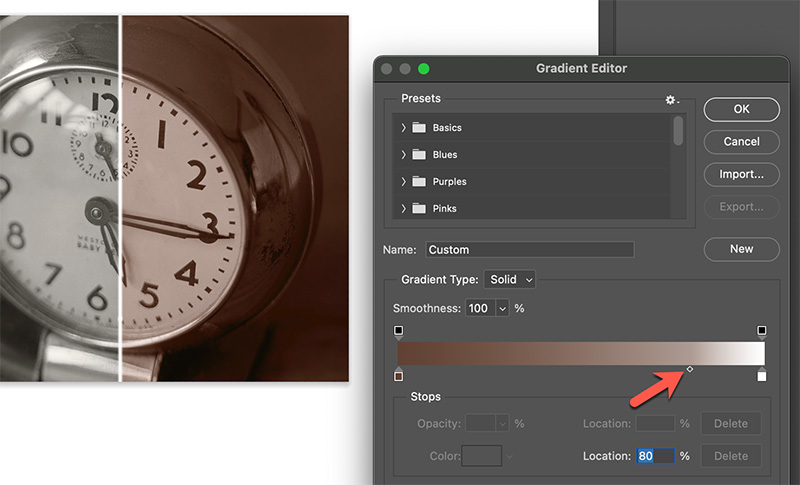
Edit the Gradient Map adjustment layer: choose a color for the darkest value.
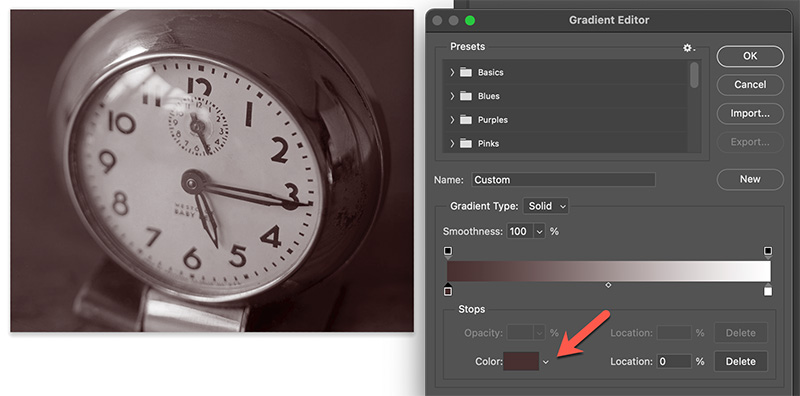
By default, toning is applied evenly from black to white. The midpoint tool has been automatically set to
50 percent. We have masked off the left-hand portion of the image to better observe the before and after
effect.
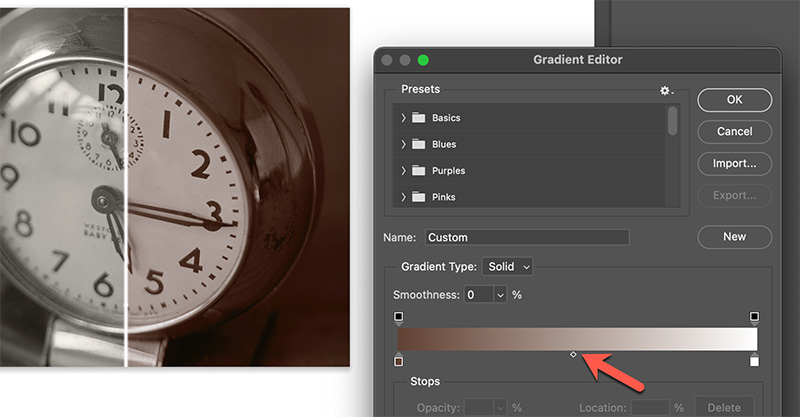
If we slide the midpoint tool to the left, toning will be applied mainly to the lower values. The higher
values will receive less toning.
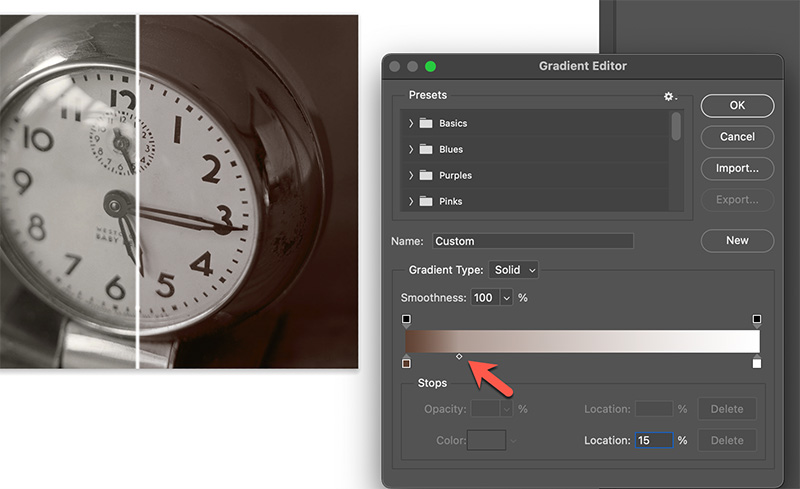
If we slide the midpoint tool to the right, toning will be applied further up the brightness scale.
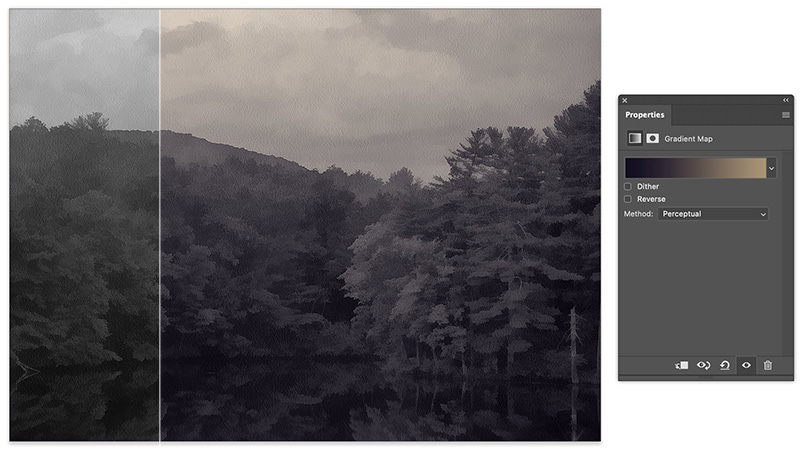
The Gradient Map is a very powerful tool ! We can specify multiple colors and blending points. Below we
have applied a two-color gradient map to the right-hand portion of the image. The lowest values are
toned with a violet color that smoothly blends
into light brown in the high values. With the
Gradient Map feature, it is very easy to create custom duotones, tritones, etc. in full 16-bit color
space. We can save these settings and reuse them in other images.
We can specify many color values along the tonal scale, making tritones, quadtones and more.
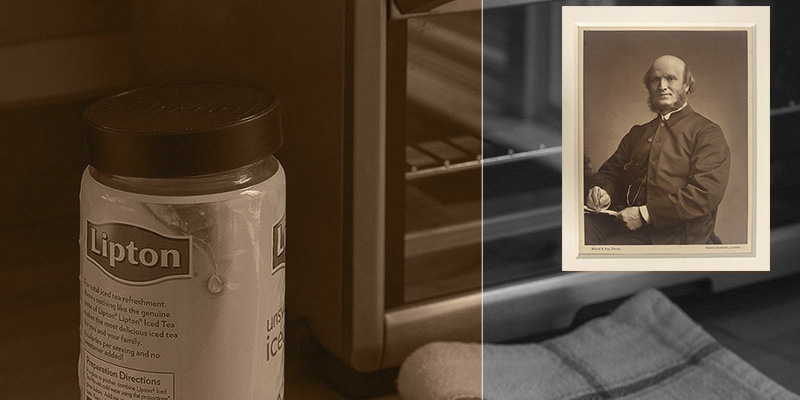
Below we have sampled three shades (dark/medium/light) from a 19th century platinotype image and created
a tritone gradient map to closely match the color scheme. We have applied the gradient map as an
adjustment layer to a black and white photograph.
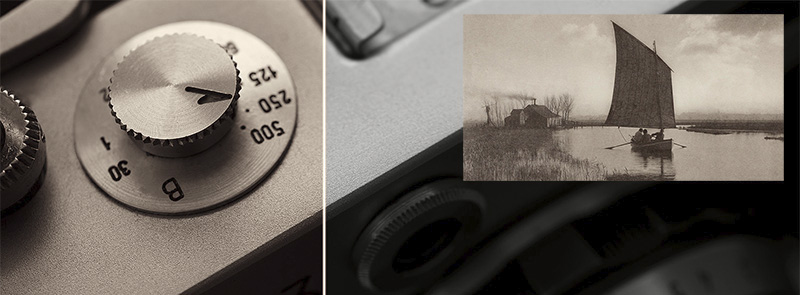
Below we have sampled four shades from a 19th century platinum photograph by William Henry Emerson and
created a quadtone gradient map to closely match the color scheme. We have applied the gradient map as
an adjustment layer to a black and white photograph.
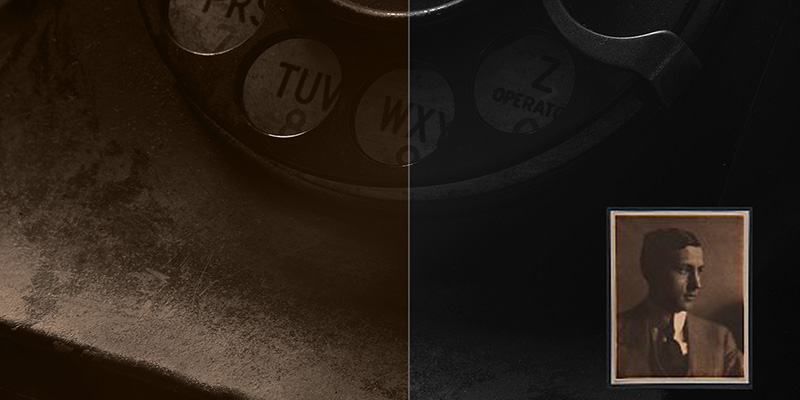
Below we have sampled 6 tones from a vintage portrait to make a matching gradient map. We have applied
the gradient map as an adjustment layer to a black and white photograph.
To learn about Gradient Maps, watch these free tutorial videos: Creative Coloring with Gradient Maps in Photoshop by PHLEARN and How to Color Grade Images in Photoshop with Gradient Maps by Photoshop Essentials.
If you chose 100% as the Opacity for the toning layer, the color may be too saturated. You can adjust
the Opacity % of the layer to taste.

If you like the way it looks, you can now merge the toning layer with the background layer. Or you can leave it as-is. Because it is merely an adjustment layer - and not a copy of the image - it doesn't increase the size of the image.
These duo-toned images combine gray and warm tints.


This image contains cool shadows, neutral mid-tones and warm highlights.


